Easily add a video response to a
quiz or
discussion. (Note: this technique works
with uploading any webcam
recording you want to embed
within any Rich Content Editor field in
Canvas, such as Pages or Assignments).
1: Start
with clicking on the Apps icon
( ) that
adds media
to a response and choose Embed Kaltura
Media from the list.
(Note: if you do not see the Apps
icon, click on "More" ⠇)
The
first time you use this, you will need to
click on “View All.” This will give
you a list to select from. Choose Embed
Kaltura Media.
2: Click on "Add New."

3: You
will get this list of choices. Choose Express
Capture.

4:
The recording interface pops up. Click the big
red button to record.
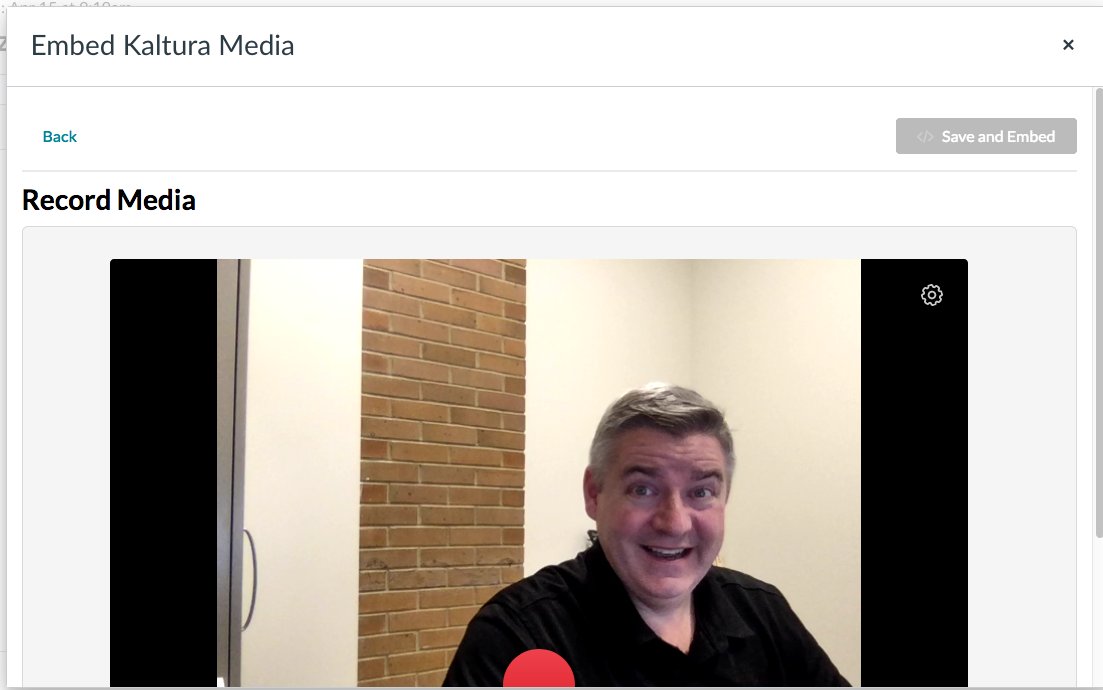
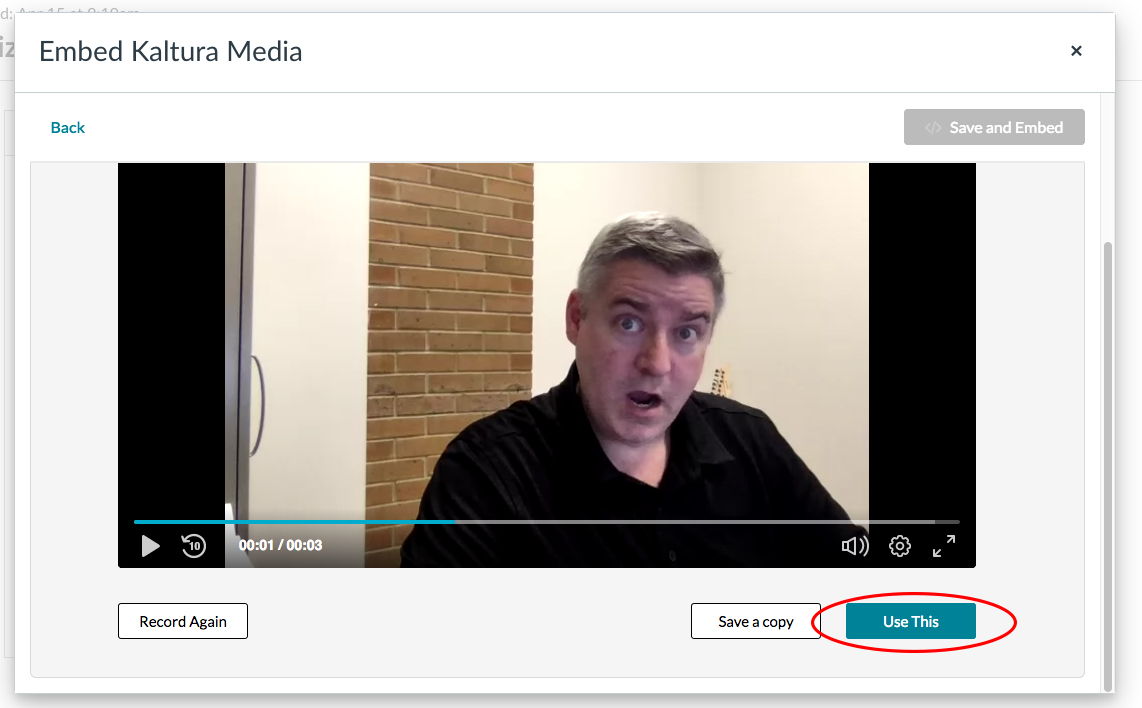
5: Then you get a screen that lets
you re-record, download,
and save a copy to your computer, or use the
video you just recorded. Click on “Use
This.”
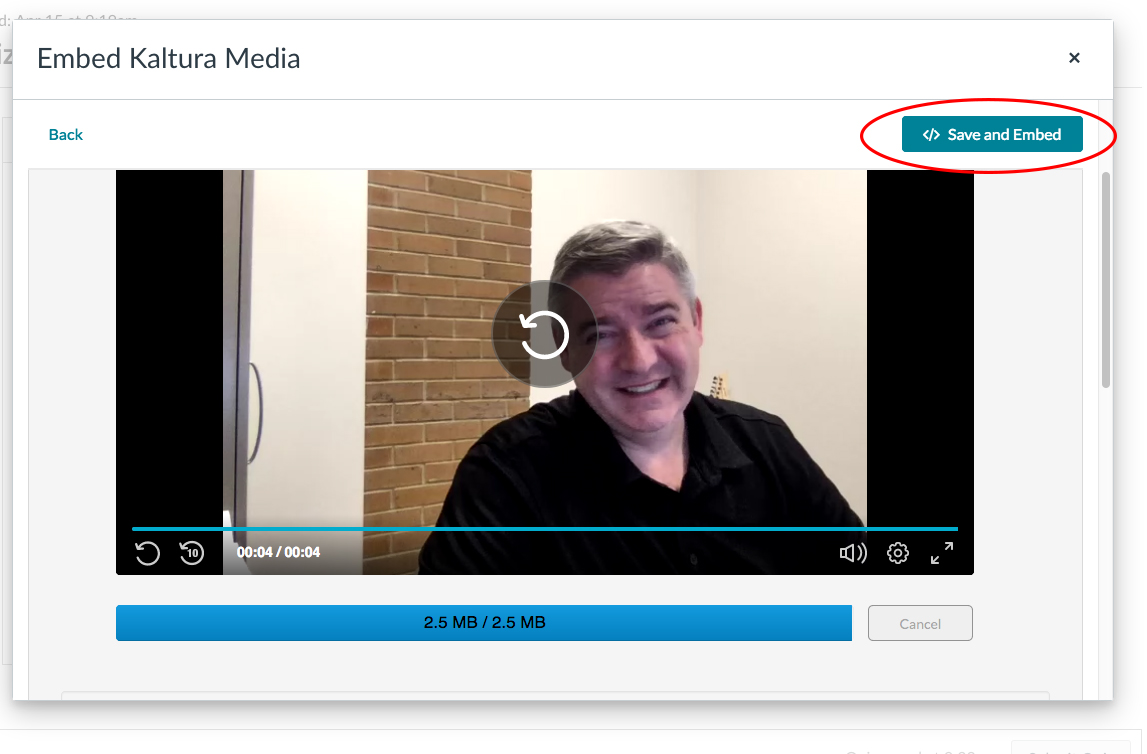
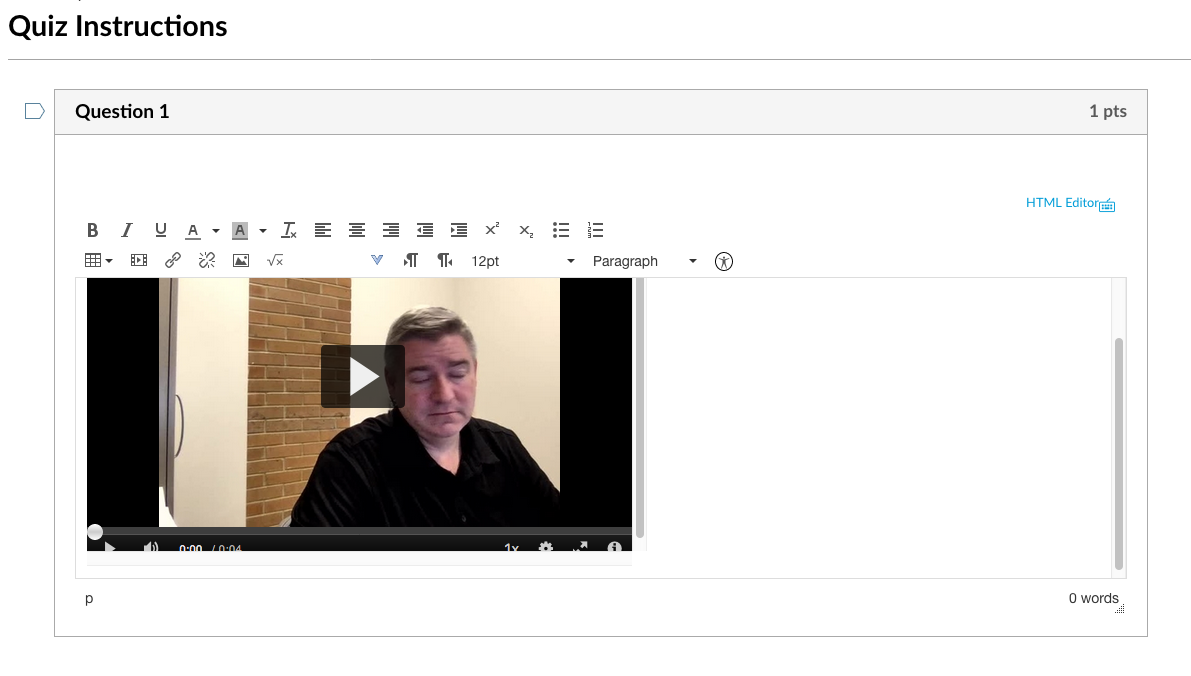
6: The video will upload, and you
will get this screen.
Click on “Save and Embed.”
7:
The video will need to process a little while,
but you do not need to wait for
it to show your video.
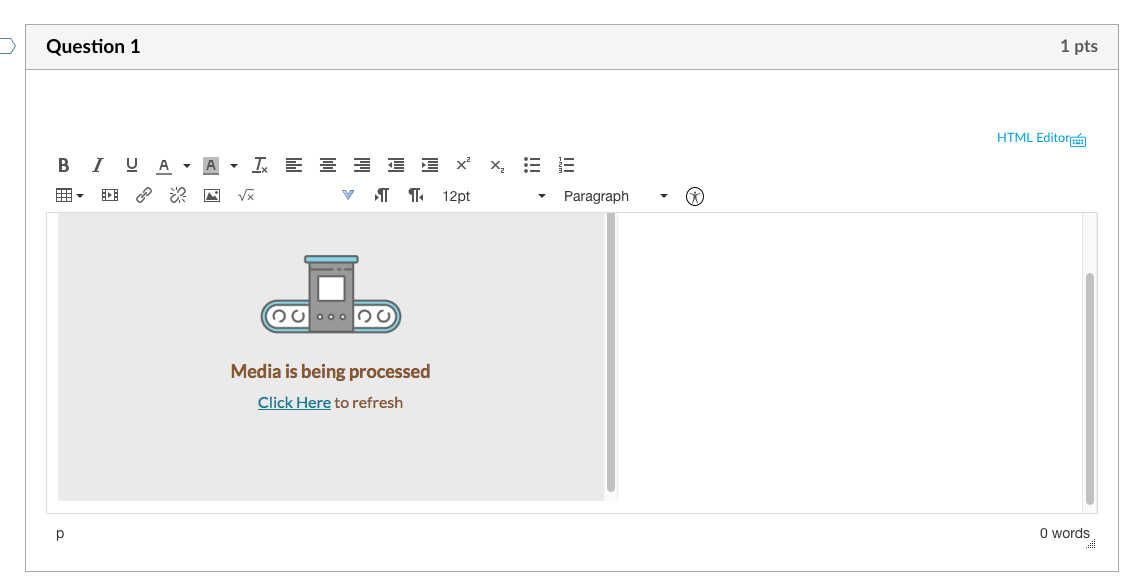
8: Whether you see the “Media is
being processed” screen or an
image of your video, you are free to finish
your quiz or discussion board as
you normally would.
Troubleshooting
Did you record something that didn’t load, or
do you want to use a recording that you
created previously?
Occasionally, the Kaltura video fails to
load, or you might have accidentally
clicked backspaced too much, and the video
is now gone.
If that happens, you could record
the
video again, or you could open “My Media.”
If your instructor has added it to the
menu, you can find “My Media” in the
left-hand navigation menu in Canvas. If
you open it, you should see your recently
created videos or search to find the one
you want. When you find the one you want
to use:
- Click on the video that you
want.
- Click “Share.”
- Copy the embed code.
- Back on the Canvas quiz/discussion
where you want to embed the video, click
on the “Embed” icon (
).
- Paste the embed code in the
textbox.
- Click “Submit.”
- The video should now be available where
you wanted to put it.
Are you still having problems?
There can always be issues that we have a hard time foreseeing, so feel free to contact us in eLearning Support (eLearningsupport@slcc.edu), and we can help come up with another solution.
REV EZ
08/19/24
